
Your Cart is Empty


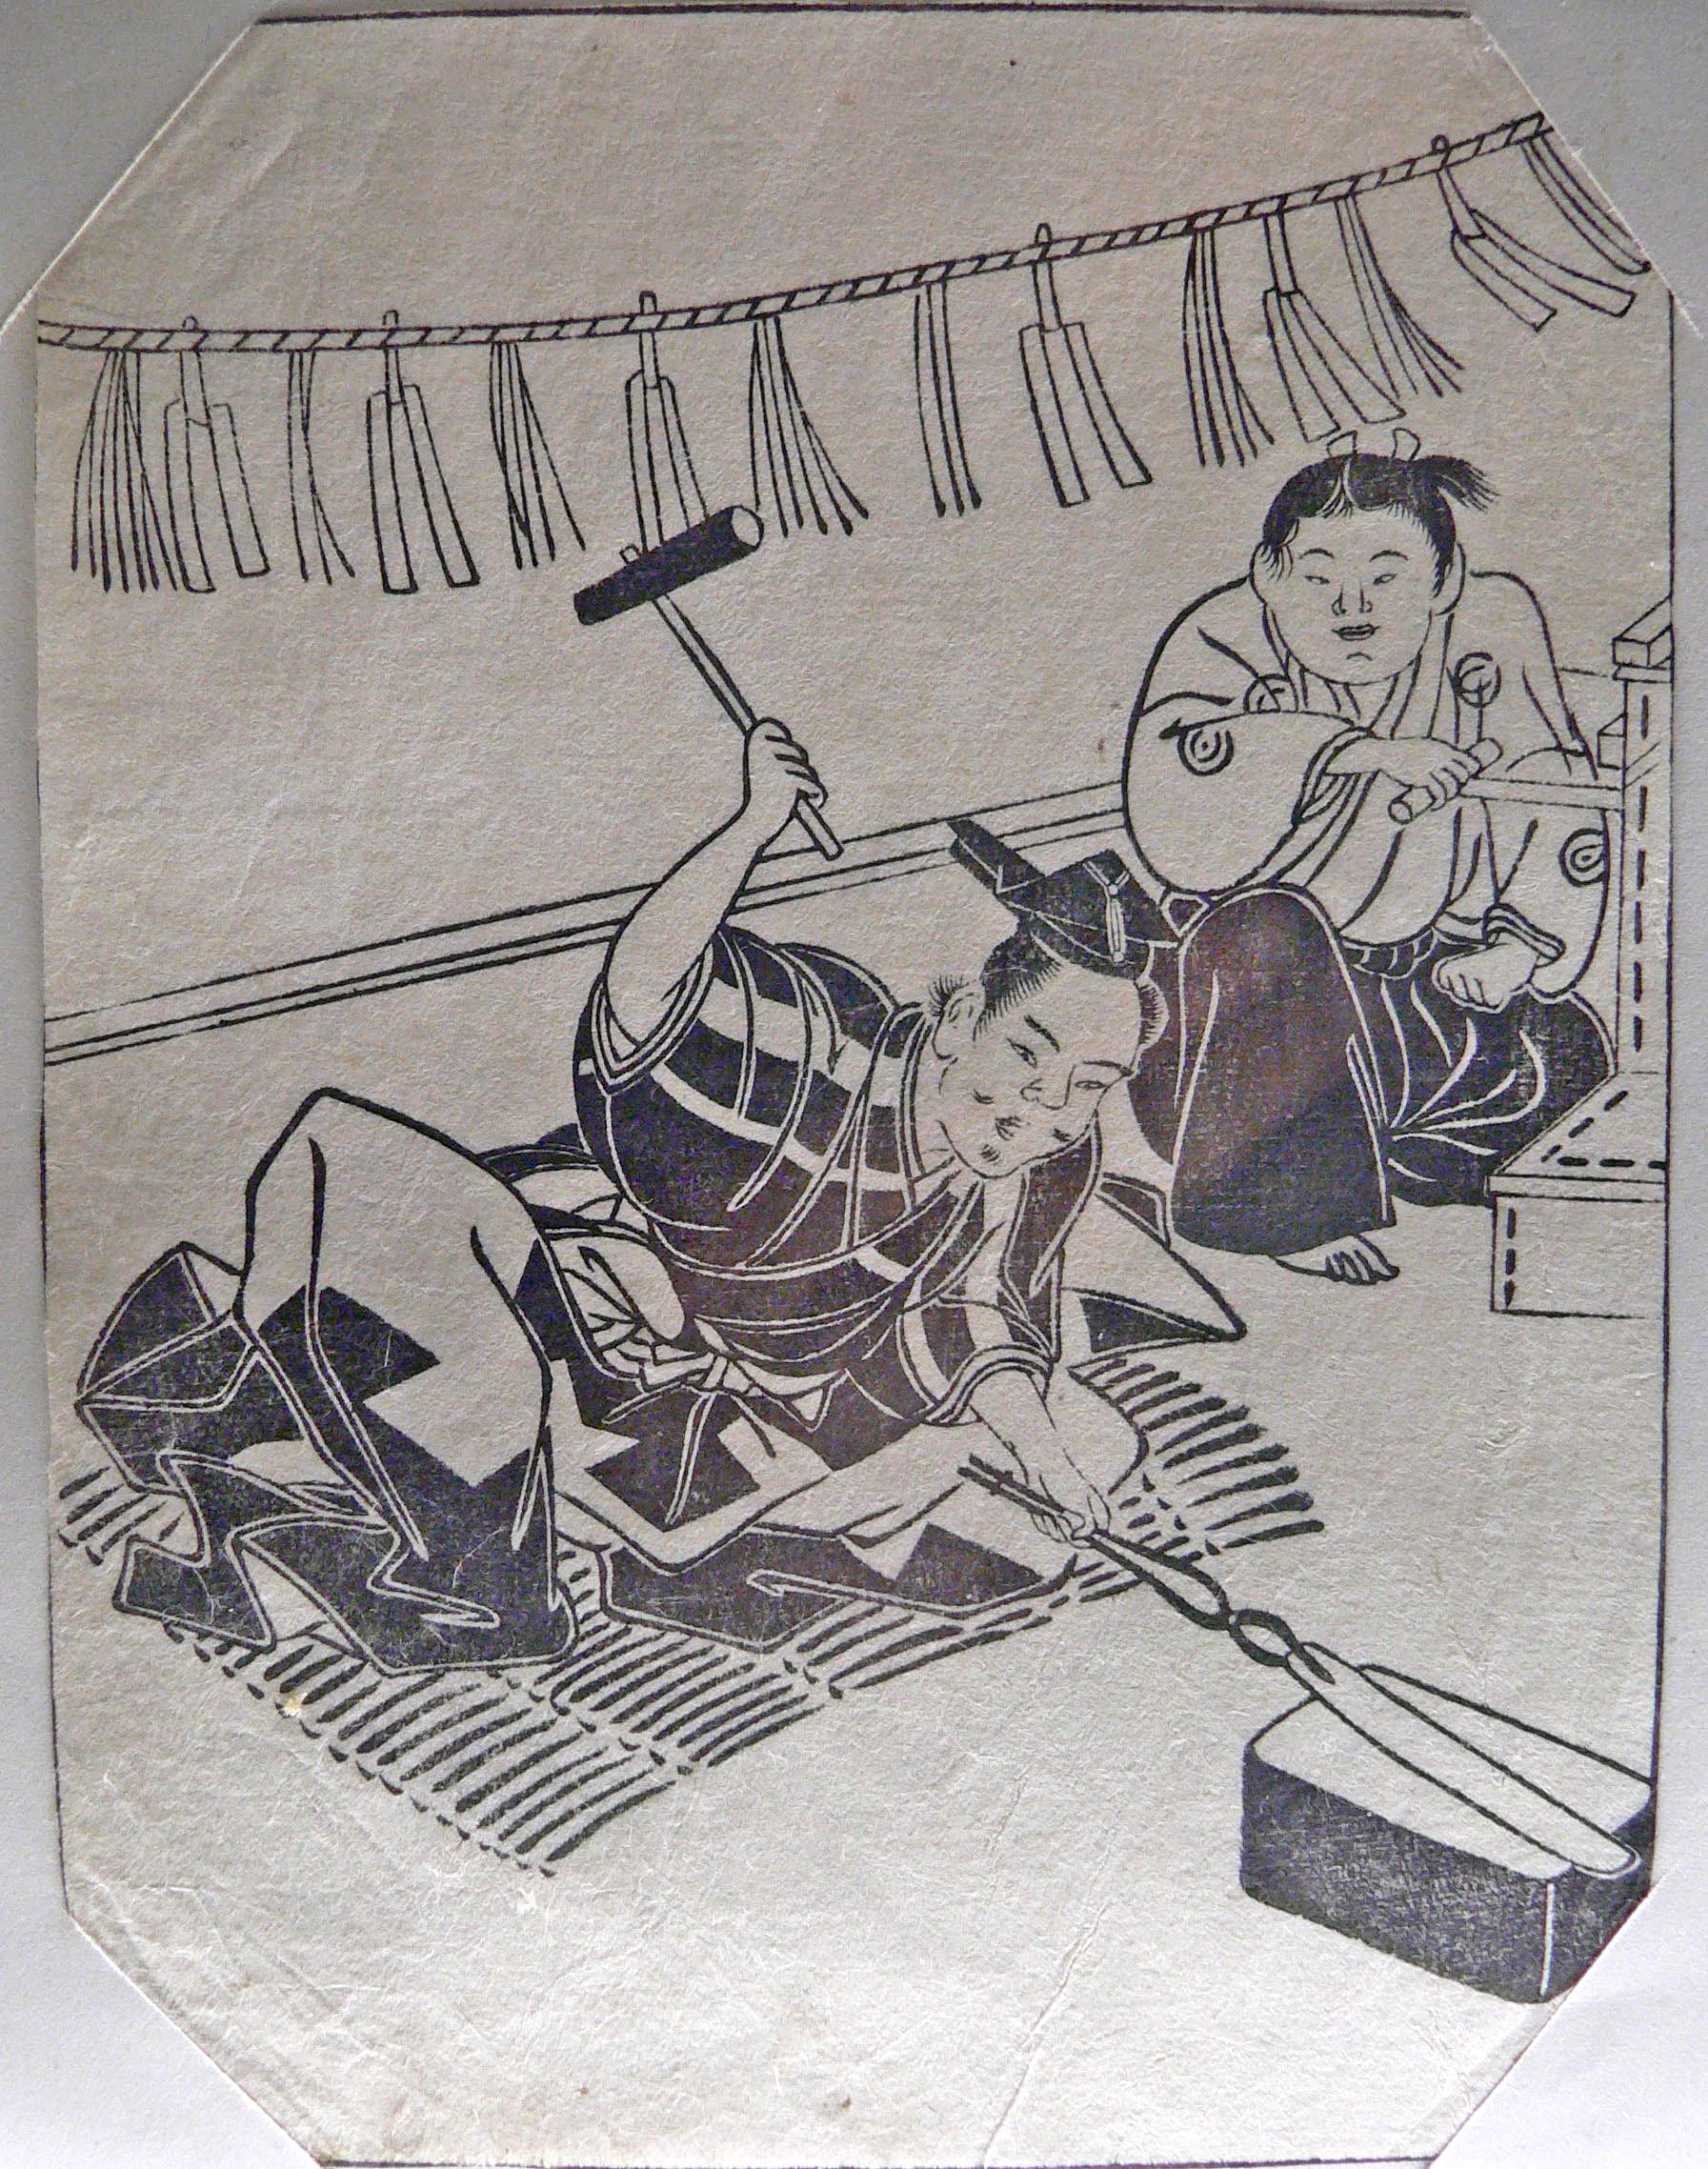

Japan has been instrumental in paving the way for new, more advanced bladesmithing processes. Since the region's feudal period, bladesmiths here have developed a variety of high-quality swords and bladed weapons, including the katana. And while different bladesmiths used different techniques, most followed a basic seven-step process.
#1) Smelting the Metal
The first step to creating a traditional Japanese sword is smelting the metal. A bladesmith would shovel more than two dozen tons of iron-rich sand and charcoal into a large container known as a tatara, after which the tatara would be heated to smelt the materials.
#2) Adding Carbon
The second step to creating a traditional Japanese sword is adding carbon to the metal. Bladesmiths strived for a carbon content of 0.5% to 1.5 when creating swords like the katana. To achieve this, bladesmiths would add carbon to the steel, though they never allowed it to reach temperatures hot enough that it would smelt it.
#3) Purification
After creating the high-carbon steel, known as tamahagane steel, Japanese bladesmiths would hammer and fold the metal repeatedly to purify it. Each time the metal was hammered and folded, it drew it some of the impurities. After about 20 foldings, the sword would gain a superior level of strength.
#4) Forging
Now comes the process of actually forging the blade. This involves heating the tamahagane steel and manipulating its shape to fit the desired sword's blade. Normally, bladesmiths would use a low-carbon steel and a high-carbon steel for this purpose. The low-carbon steel was used for the sword's spine, whereas the high-carbon steel was used for the sword's edge.
#5) Coating
Bladesmiths would often coat their swords with clay immediately before quenching them in water or oil. While the blade was still hot, the bladesmith would paint a thick layer of clay on the sword's spine and a thin layer on the sword's edge.
#6) Quenching
With the sword coated in clay, the bladesmith would quench it by submerging it in water or oil. This was a critical step in the swordmaking process, as it allowed for differential heat treatment to occur. As the sword cooled, the edge would be come stronger and the spine more flexible.
#7) Polishing
The final step to creating a traditional Japanese sword involves polishing blade. While this may sound simple enough, polishing was a painstakingly tedious and time-consuming task that involved rubbing the blade with a variety of grinding stones, which typically consisted of riverbed stones.

Who the Muramasa smiths really were, how their blades became linked to the Tokugawa family's misfortunes, and why historians treat the curse as legend.

What nagasa, sori, motohaba, kasane, tsuka length, weight and balance point mean, how each is measured, and how to compare two swords fairly.

What the habaki, tsuba, tsuka, menuki, fuchi, kashira and saya actually do, and how to choose each one when you design a custom katana. Illustrated with museum pieces from the Metropolitan Museum of Art.


